


Arduino Robotics Part-II
Master advanced Arduino robotics by designing, building, and programming Explorer-Bots, RoboBoats, Lawn-Bots, Seg-Bots, and Battle-Bots.
#1 Most Popular Online Course & Internship in Engineering You can enroll today & get certified from EasyShiksha & HawksCode.
 Build real-world projects
Internship with certificate
Resume-ready experience
Beginner to advanced
Lifetime access
Interview prep included
Build real-world projects
Internship with certificate
Resume-ready experience
Beginner to advanced
Lifetime access
Interview prep included
 Updated June 29, 2026
Join 5,00,000+ students already enrolled worldwide
No risk — 30-day full refund guarantee
Start instantly after payment — access in seconds
Certificate + Internship Joining Letter included
Updated June 29, 2026
Join 5,00,000+ students already enrolled worldwide
No risk — 30-day full refund guarantee
Start instantly after payment — access in seconds
Certificate + Internship Joining Letter included
 Free Preview
 52 On-demand Videos
 Internship Joining Letter
 2 Certificates (Course + Internship)
 Lifetime Access
 Mobile & Desktop Access
Why This Course and Internship Stands Out
See exactly what separates EasyShiksha students from everyone else
 Watching scattered YouTube
videos with no structure
No certificate — nothing to show
employers
No internship experience on
resume
Wasting months without clear
direction
Struggling to stand out in job
applications
No proof of practical skills
Structured, beginner-to-advanced
learning path
Verified certificate — shareable
on LinkedIn
Real internship offer letter for
your resume
Go from zero to job-ready in one
programme
Resume-ready experience before
graduation
Practical projects you can show
any recruiter
Watching scattered YouTube
videos with no structure
No certificate — nothing to show
employers
No internship experience on
resume
Wasting months without clear
direction
Struggling to stand out in job
applications
No proof of practical skills
Structured, beginner-to-advanced
learning path
Verified certificate — shareable
on LinkedIn
Real internship offer letter for
your resume
Go from zero to job-ready in one
programme
Resume-ready experience before
graduation
Practical projects you can show
any recruiter
Internship Opportunity Included With This Course
"This is not just a course — it's real career experience. Walk away with documents that prove your skills to any employer."
This Course is Perfect For
Whether you're starting from scratch or switching careers — this course is designed with your success in mind.
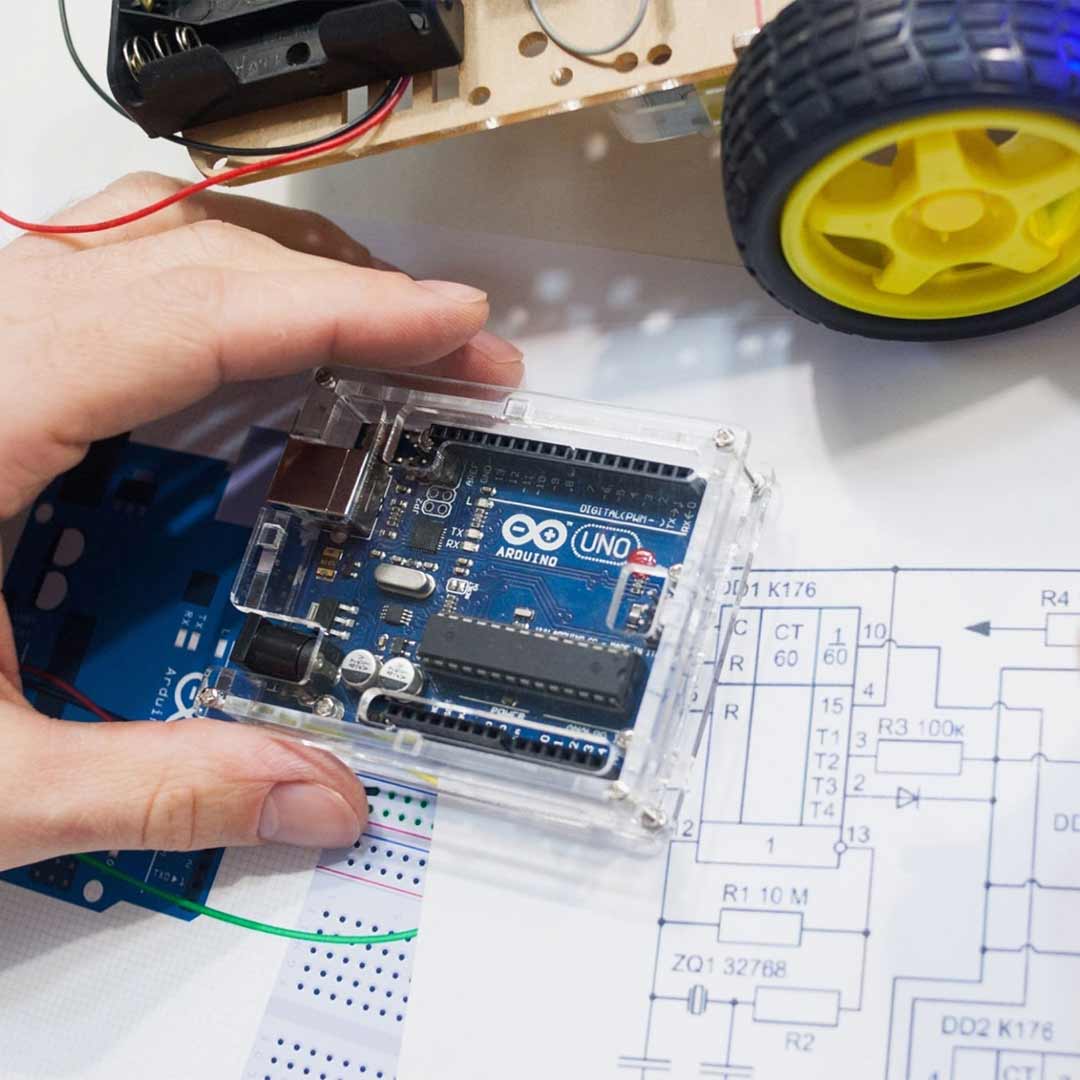
Welcome to the Part-II of Arduino Robotics course! In this course, you will learn how to design, build, and program robots using the Arduino platform.
Arduino is an open-source electronics platform that is designed for building interactive projects. It consists of a microcontroller board, software, and a community of users who share their ideas and projects.
In this course, you will start with the basics of electronics and programming and learn how to use various sensors and actuators to build your own robots. You will also learn how to program the robots using the Arduino programming language, which is based on C++.
By the end of this course, you will have the skills and knowledge to build your own custom robots that can perform a variety of tasks. Whether you are interested in hobby robotics, or automation, or just want to learn a new skill, this course is the perfect starting point for you. So let's get started and dive into the exciting world of Arduino Robotics!
Index from Chapter 8 - Chapter 13
Chapter 8: Explorer-Bot
How the Explorer-Bot Works
● R/C Control
● Powerful Motors
● Current Sensing
● Video-Enabled
● Xbee-Enabled
Parts List for the Explorer-Bot
Building the Frame
● Specs
● Adding Battery Bracket
● Cut Top Frame Brackets
● Cut Top Frame Braces
● Cut and Bend Main Frame Piece
● Add Crossbar and Mount Caster Wheel
Building the Motor Controller
● Current Sensing and Limiting
● H-bridge Design
Setting Up the Arduino
● Connecting the H-Bridges
● Setting Up Xbee
● Testing the Xbees
● Adding a Camera
● Pan and Tilt
● Make First Bracket
● Make Second Bracket
Loading the Code
Summary
Chapter 9: RoboBoat
Some Words in Advance
Parts List for the RoboBoat
● Polystyrene Foam
● Epoxy Resin
● Gloves
● Fiberglass Fabric
● Glue
● Styrofoam Cutter and Razor Knife
● Miscellaneous
The RoboBoat Design
Assembling the Boat
● The Templates
● Gluing the Templates on the EPS/XPS Board
● Cutting Out the Segments
● Gluing the Segments Together
● Inserting the Foam Anchors
● The Coating
● Applying the Finish
● The Fins
● Painting
● The Deck
● Completing the Assembly
The Propulsion Assembly
● The Baseplate
● The Pivot
● The Tube
● The Rudder Horns
● The Motor
● The Servo
● The Pushrods
Electronics
● The Heart of the System: The ArduPilot PCB
● The GPS Module
● The Electronic Speed Controller (ESC)
● The Motor
● The Rudder Servo
● The Battery Pack
● Assembling the Electronics
Software and Mission Planning
● GPS Receivers
● The Software
● Installing the Software
● Mission Planning
Putting It All Together
● Integrating the System
● Ships Ahoy!
Troubleshooting
● The Thrust of the Motor/Propeller Is Not Sufficient
● The Motor Does Not Start
Summary
Chapter 10: Lawn-Bot 400
How the Lawn-bot 400 Works
● Lawn Mower Deck
● High-Capacity Batteries
● Steel Frame
● Dump-Bucket
● Pneumatic Tires
● Headlights
● Failsafe
Tools and Parts List
● Lawnmower
● Parts Lists
The Wheels
● Front Caster Wheels
● Rear Drive Wheels
● Installing Sprockets
The Frame
The Drive-Train
● Motor Mount Brackets
● Installing the Chain
The Motor Controller
● Buying a Motor Controller
● Cooling Fans
● Motor Controller feedback
The Arduino
● Securing Connections for a Bumpy Ride
The Failsafe
● R/C Toggle Switch
● Power Relays
● Avoiding an R/C Failsafe
Making Connections
The Code
Adding Cosmetics and Accessories
● Painting
● Headlights
● Dump Bucket
● Lawnmower Kill-Switch
Summary
Chapter 11: The Seg-Bot
How the Seg-Bot Works
● Inertial Measurement Unit
● Steering and Gain
● Engage Switch
Parts List for the Seg-Bot
Selecting the Right Sensors
● 33v Power
● Accelerometer
● Gyroscope
● Gyroscope Versus Accelerometer Summary
● Filtering the Angle
Making the IMU Adapter Board
Selecting the Motors
● Electric Brake Removal
● Motor Mounting Position
Selecting the Motor Controller
● SoftwareSerial Library
● Sabertooth Simplified Serial
The Batteries
● Sealed Lead-Acid
● Charging
● 12v Supply
The Frame
● Frame Design
● Building the Frame
Inputs
● Steering
● Gain
● Engage Switch
● Level-Start
● Mounting the Inputs to the Frame
Installing the Electronics
● Soldering the Inputs
● Wiring the Connections
Reviewing the Code
● The sample_accel() Function
● The sample_gyro() Function
● Checking the Angle Readings
● The calculate_angle() Function
● The read_pots() Function
● The auto_level() Function
● The update_motor_speed() Function
● The time_stamp() Function
● The serial_print_stuff() Function
● The Full Code
Testing
Summary
Chapter 12: The Battle-Bot
Robotic Combat Is Born
● Battle-Bot Rules and Regulations
● No Price Limit!
Parts List for the Battle-Bot
Input Control
● Fly Sky CT-6: The $32, 5-ch*, 24GHz Radio Alternative
The Electronics
● The Arduino
● The Motor Controllers
The Frame
● To Buy or Build?
● Modifying the Wheels
● Building the Frame
The Drive Train
● Gearing
● Chain Tensioning Nut
Batteries
Securing Electronics
● Protecting Your Brains
● Making Connections
The Code
● Armor
● Weapons
● Additional Information
Summary
Chapter 13: Alternate Control
Using Processing to Decode the Signals
Parts List for Alternate Control
Selecting the Input
Processing Prerequisites
Following Protocol
Examining the Processing Sketch
● Explanation
● Testing Processing
Examining the Arduino Sketch
Summary
In Part-I of this course, we have some basic concepts and in this, we are covering all the advanced topics. If you have not enrolled in Part-I yet then first clear all basics from there and then enroll here to have complete detail on this topic
Arduino Robotics Part-I
Missing this = losing the internship credential Missing this = losing your early-access advantage Missing this = falling behind candidates who did enroll
 Chat with us first → 52 On-demand Videos Course Completion Certificate
Internship Certificate
Internship Joining/Offer Letter
Letter of Appreciation (LOA)
Internship Attendance Report
Internship Evaluation Report
Internship Certificate Hard Copy
Project Report Assitance
Internship Project Assitance
1:1 Live Mentor Call
Course Certificate in Elegant Wooden Frame
2 Certificates (Course + Internship) Lifetime Access Projects & Assignments
Chat with us first → 52 On-demand Videos Course Completion Certificate
Internship Certificate
Internship Joining/Offer Letter
Letter of Appreciation (LOA)
Internship Attendance Report
Internship Evaluation Report
Internship Certificate Hard Copy
Project Report Assitance
Internship Project Assitance
1:1 Live Mentor Call
Course Certificate in Elegant Wooden Frame
2 Certificates (Course + Internship) Lifetime Access Projects & AssignmentsWhy Start Now?
The Opportunity Won’t Wait.
Every day you delay is a missed opportunity to grow your skills. Learners who start today gain the advantage — whether it's building skills, improving careers, or unlocking new opportunities.
Still Thinking?
Here's everything that makes this a no-brainer:
No prior experience needed — start from absolute zero Beginner friendly — explained step by step Risk-free — 30-day full refund guarantee One-time payment — access forever Student-friendly pricing — see details at checkout Real internship certificate includedWhat Happens After You Enroll?
From payment to certificate — here's exactly what to expect
Imagine After Completing This Course
Picture yourself 30 days from now — with skills, experience, and credentials that open real doors.
 Includes Internship